

Cottage Cheese Flatbread
After years of testing various keto and low-carb bread alternatives, I’ve found that cottage cheese flatbread stands out as one of the most practical solutions for anyone serious about balancing macros without sacrificing convenience. What makes this recipe exceptional isn’t just the impressive nutritional profile—it’s how remarkably simple it is to execute.
Table of Contents
Why Cottage Cheese Flatbread Changes the Game
Let’s be honest: finding a genuine low-carb bread substitute that doesn’t taste like cardboard has been the holy grail for fitness enthusiasts and keto followers. Enter cottage cheese flatbread, a game-changer that delivers. Each wrap contains just 14 grams of carbohydrates and a staggering 39 grams of protein, making it ideal for anyone tracking macros seriously. With only two ingredients and thirty-five minutes from start to finish, this recipe eliminates the common excuse that healthy eating requires hours in the kitchen.
The versatility sealed the deal for me during my first trial. Within a week, I was using these wraps for everything from loaded breakfast sandwiches to crispy pizza bases and meal-prepped lunch wraps. When a recipe is this adaptable, it naturally becomes a staple.
Gathering Your Ingredients: Quality Matters More Than You’d Think
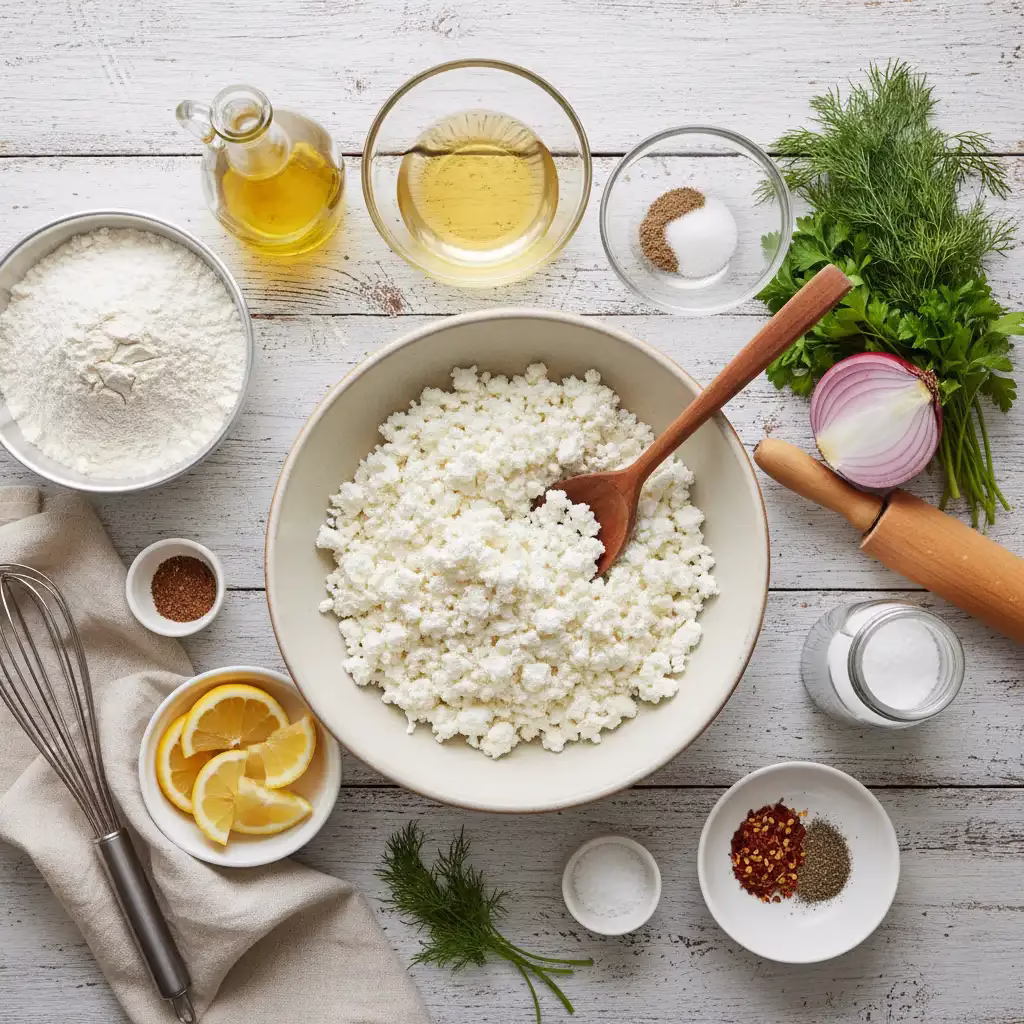
The ingredient list is refreshingly straightforward: one cup of cottage cheese and two large whole eggs. That’s genuinely it. However, the ingredient selection deserves careful consideration because quality directly impacts your results.
Cottage cheese comes in three varieties—full fat, reduced fat, and fat free—and any of them works beautifully with this recipe. Your choice should align with your specific macro targets. I typically recommend whatever fits your daily fat allocation, though many people find reduced-fat cottage cheese offers the best balance between texture and nutrition.
Here’s a pro tip from my experience: pay attention to the sodium content. Most conventional cottage cheese brands pack significant sodium, but low-sodium alternatives exist if you’re monitoring salt intake. When scanning the ingredient list, you’ll notice brands like Daisy keep things simple and clean, while others read like a chemistry experiment. Neither approach is inherently wrong, but natural-leaning ingredients often feel better, even if the end result is identical.
The eggs should be large, and using whole eggs rather than whites preserves fat and creates superior texture. I’ve experimented extensively with different approaches, and whole eggs consistently deliver the best results.
The Processing Step: Where Most People Struggle
This is the stage where the recipe succeeds or fails, honestly. Here’s what I tell everyone: you need either a food processor or blender to combine your cottage cheese and eggs until the mixture reaches complete smoothness. This step isn’t just recommended—it’s essential for preventing that grainy, lumpy cottage cheese texture that ruins the final product.
The goal is reaching a batter consistency that pours easily and bakes into a cohesive wrap rather than a textured mess. When you blend thoroughly, the eggs incorporate completely with the cottage cheese, creating an emulsion that bakes evenly.
There’s one exception: if you specifically want that cottage cheese texture, or if you’re using a pre-whipped or naturally smooth cottage cheese variety, hand mixing works fine. But for the majority of people pursuing this recipe, invest two minutes in the food processor. It’s the difference between great results and disappointing ones.
Flavor: Keeping It Simple or Going Creative
The base recipe uses three-quarters teaspoon of garlic powder and one teaspoon of Italian seasoning. This combination works exceptionally well and makes sense for versatile applications like sandwiches and wraps. However, this is genuinely where personal preference takes over.
I’ve tested countless flavor variations, and here’s what consistently works: use half to one teaspoon of your chosen seasoning blend. Taco seasoning transforms it into a Mexican-inspired base perfect for burrito bowls. Cajun seasoning delivers that southern comfort vibe. For curry powder fans, you unlock completely different meal applications. Crushed red pepper adds heat, ground mustard brings tang, and smoked paprika introduces complexity.
The spice cabinet becomes your playground. Onion powder, fresh garlic, Parmesan cheese (about a quarter cup), chives, basil, and oregano all perform admirably. I typically experiment with one seasoning profile per batch, which keeps meal prep interesting throughout the month.
Preparing for Success: The Setup Matters
Before mixing anything, grab a baking sheet and line it with parchment paper. Then lightly spray the parchment with cooking spray. This preparation step is honestly foolproof protection against sticking—parchment paper combined with spray almost guarantees easy removal later.
Pour your blended mixture onto the prepared sheet and spread it evenly into your desired shape. Preference varies between round wraps and rectangular flatbreads. If shaping feels tedious, using a quarter baking sheet eliminates much of the work since you simply spread the batter to fill the pan.
Optional toppings can go on before baking. Sprinkle oregano, Italian seasoning, or whatever you’ve chosen across the surface.
Baking and Achieving Perfect Results

Set your oven to 350 degrees Fahrenheit (176 Celsius). This temperature works universally, but cooking time depends heavily on thickness. Thinner wraps finish in twenty to twenty-five minutes, while thicker flatbreads might require forty-five to fifty minutes, especially when using smaller pans.
The doneness indicator is simple: watch for the edges and bottom to begin browning. This browning signals that moisture has evaporated and structure has set. If the bottom remains pale after the edges brown, leave it in a bit longer. Baking it sufficiently long enough creates that desirable crispy texture rather than a floppy wrap.
Once removed from the oven, let it cool completely before peeling it off the parchment. This cooling period allows the structure to firm up, making removal effortless.
Elevating Your Flatbread: Pizza and Beyond
Here’s where things get exciting. While the flatbread is still warm in the pan (don’t cool it first), add pizza sauce, cheese, and your preferred toppings. Return it to the oven at 400 degrees Fahrenheit for ten to fifteen minutes until the cheese melts completely. You’ve essentially created a legitimate low-carb pizza.
Beyond pizza applications, these wraps function perfectly as sandwich bases. They’re sturdy enough to handle substantial fillings without disintegrating. Many people enjoy them plain without any additions—they genuinely taste great on their own.
Making This Work Long-Term: Storage and Meal Prep
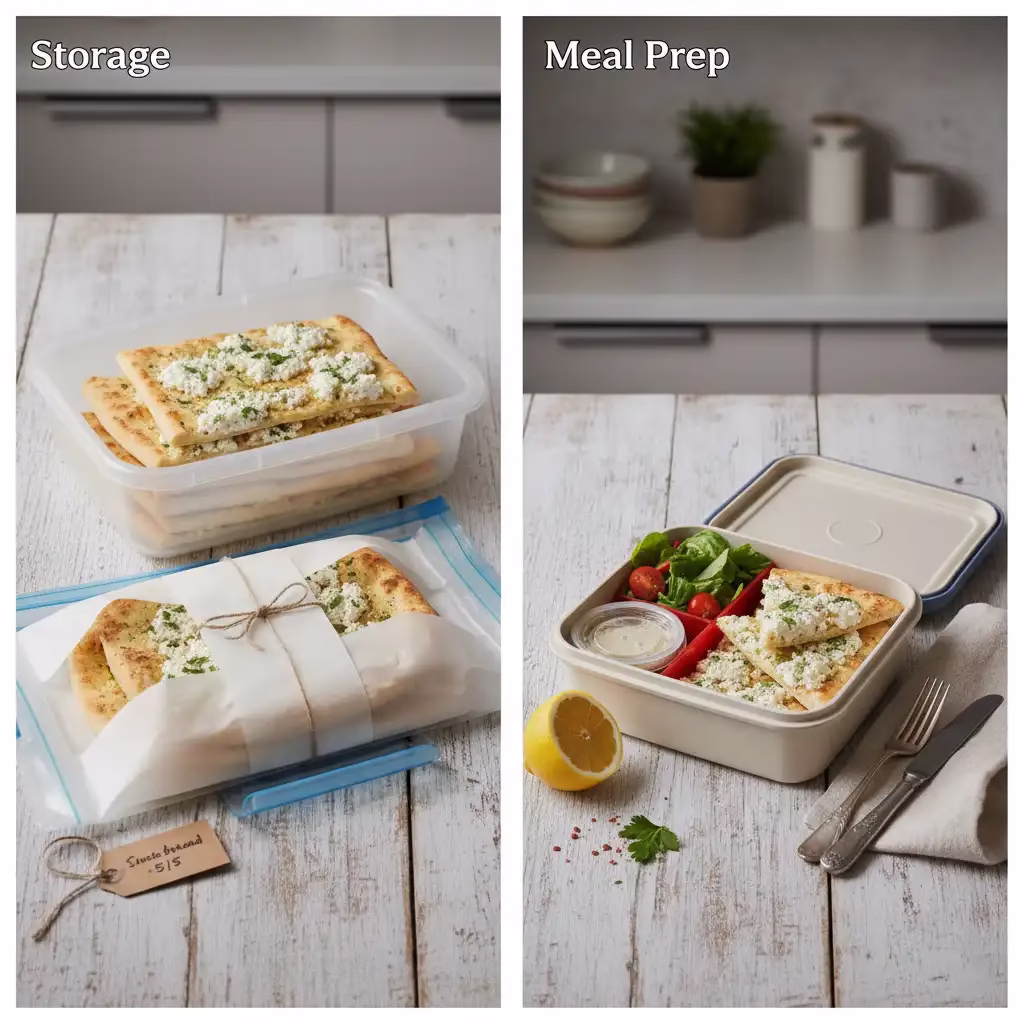
This recipe was designed with meal preparation in mind. Make a batch on Sunday, store the wraps in a sealable bag in your refrigerator, and you’ve got grab-and-go options for days. They maintain quality throughout the week, and I’ve consistently had good results keeping them refrigerated.
If you want to extend the timeline further, freezing works exceptionally well. The wraps thaw quickly and taste as fresh as when initially baked, making this recipe genuinely practical for anyone serious about consistent nutrition without daily cooking effort.
After twenty years in this industry, I genuinely believe this cottage cheese flatbread recipe represents one of the most practical solutions for sustainable, macro-friendly eating. It’s that rare combination of simple, delicious, and versatile.
There are no reviews yet. Be the first one to write one.