
Cloud Cake Recipe
Table of Contents
Why This Cloud Cake Recipe Will Change Your Baking Game
I remember the first time I made a cloud cake. It was a lazy Sunday afternoon, and I had nothing in my pantry except eggs, condensed milk, Greek yogurt, and a lemon. I wasn’t expecting much—honestly, I thought it would turn into a dense, disappointing mess. But when I pulled it out of the oven and took that first bite, I understood why people become obsessed with this recipe.
What makes the cloud cake so special isn’t some complicated technique or a long ingredient list. It’s the opposite, actually. This is a four-ingredient flourless cake that delivers the kind of soft, pillow y texture you’d expect from something that took hours to perfect. Yet here’s the thing: it only takes about five minutes of actual prep work.
Over my twenty years working in SEO and digital marketing, I’ve learned that simplicity is valuable. The same principle applies to baking. The cloud cake embodies this philosophy perfectly. It’s straightforward enough for beginners but impressive enough to serve to your most discerning guests.
Understanding the Cloud Cake Recipe: My Story with This Recipe
I first encountered cloud cakes during a family gathering years ago. My cousin brought one with an orange flavor, and while everyone loved it, I found myself thinking about how incredible it would taste with lemon instead. The brightness of fresh lemon felt like the perfect complement to the cake’s delicate, airy structure.
That’s when I started experimenting. I’ve made this recipe dozens of times now, tweaking and refining it until I arrived at what I believe is the perfect version. The lemon variation has become my signature—it’s fresher, more vibrant, and honestly, just more exciting than the traditional orange approach.
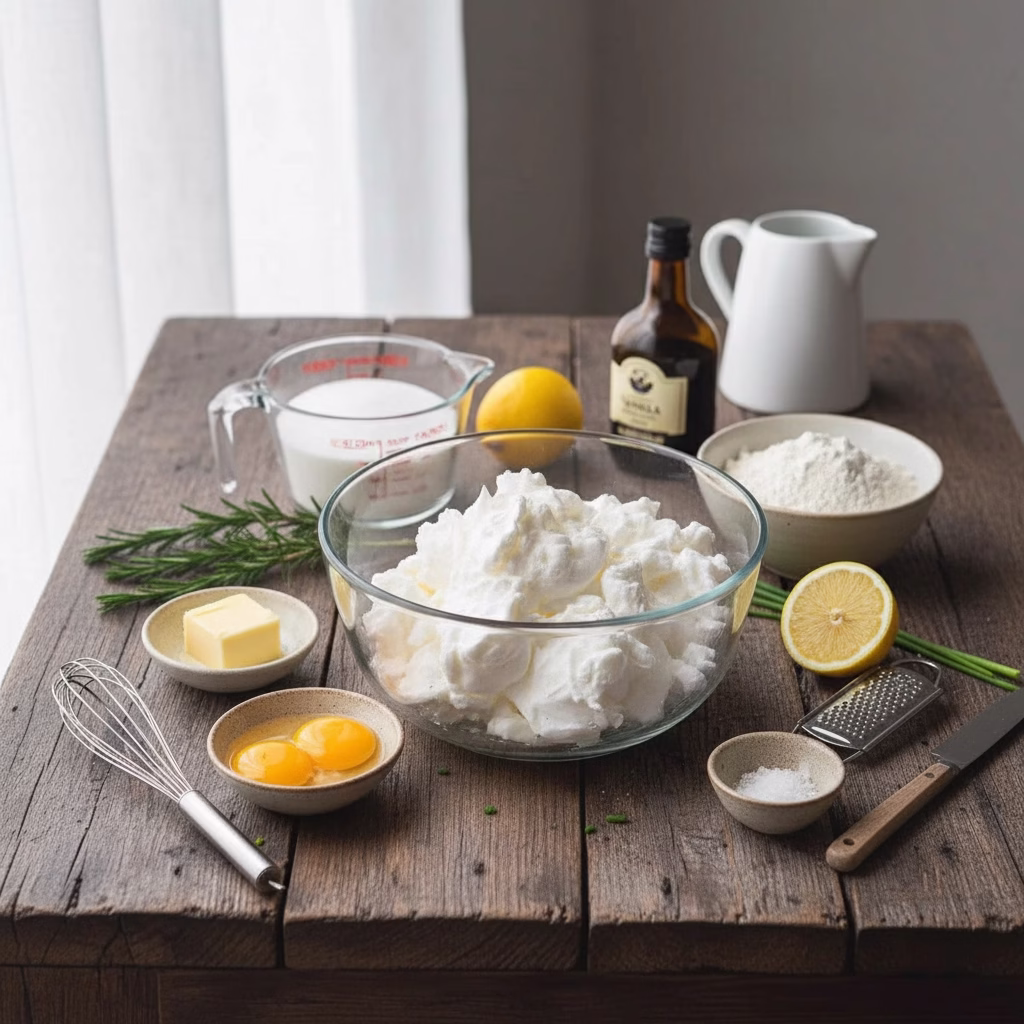
What I want you to understand from the beginning is that this recipe genuinely requires only four main ingredients: eggs, Greek yogurt, condensed milk, and fresh lemon. No flour. No butter. No complicated equipment. Just these simple components combined in the right way to create something that tastes infinitely more complicated than it actually is.
The Secret to Perfect Cloud Cake Recipe Texture
If there’s one element that determines whether your cloud cake becomes a cloud or a brick, it’s this: beating your egg whites to stiff peaks. And I mean properly beaten, with room-temperature eggs, using either an electric whisk or a stand mixer.
Here’s why this matters. The entire magic of a cloud cake depends on aerating those egg whites. When you whip room-temperature eggs, you’re essentially creating thousands of tiny air bubbles that get trapped in the mixture. These bubbles expand in the oven’s heat, creating that signature light and fluffy crumb that makes this cake so memorable.
The critical part—and I’ve learned this through plenty of trial and error—is knowing when to stop. You want stiff peaks that stand straight up when you lift the whisk. But don’t keep going after that point. Overbeating can actually cause the proteins to break down, which paradoxically makes your whites less effective at holding air.
I typically prepare everything else first, then beat my egg whites last, right before folding them into the yolk mixture. This ensures maximum lift and the best possible texture in your finished cake.
Gathering Your Ingredients: What You’ll Need
Before you start, let me break down what goes into this recipe. I always recommend reading through the entire recipe card first—it saves frustration later.
You’ll need four large eggs, preferably at room temperature. This is non-negotiable. Cold eggs won’t whip to the same volume, and you’ll lose that cloud-like texture. I usually pull my eggs out of the fridge thirty minutes before baking.
Greek yogurt or plain yogurt adds moisture and richness. I prefer Greek yogurt because it’s thicker and creates a denser crumb, but regular yogurt works too. You’ll also need one can of sweetened condensed milk—this sweetens the cake and contributes to its structure.
Fresh lemon is crucial. You need both the juice and the zest from about half a medium lemon. The zest adds those bright flavor notes, while the juice provides acidity that balances the sweetness beautifully. Finally, grab some powdered sugar for optional decoration, though the cake is lovely without it.
Step-by-Step Instructions: How to Make Cloud Cake
Step One: Prepare Your Oven and Pan
Start by preheating your oven to 160°C (340°F). This lower temperature is essential. Many people make the mistake of using standard cake-baking temperatures, which causes the cake to crack or deflate. The gentle heat allows the cake to set gradually without the outer edges cooking too quickly.
Line a 20-centimeter springform pan with parchment paper. A springform pan is ideal because it allows you to release the cake cleanly without flipping it. The size matters too—a 9-inch pan is actually too large for this recipe and will result in a thinner, less impressive cake.
Step Two: Separate Your Eggs
This is straightforward but requires care. Separate your four large eggs into two bowls—yolks in one, whites in the other. Make absolutely sure no yolk ends up in your egg whites. Even a tiny amount of yolk can prevent proper whipping. Use three separate bowls if needed to be completely safe.
Step Three: Create Your Yolk Mixture
In the bowl with your yolks, combine them with your can of sweetened condensed milk, the lemon juice and zest from your half lemon, and your Greek yogurt. Mix this thoroughly until well combined and smooth. There shouldn’t be any lumps or streaks. This mixture becomes the flavor and richness base of your cake.
Step Four: Whisk Your Egg Whites
Using an electric whisk or stand mixer, beat your egg whites until they form stiff peaks. This typically takes five to ten minutes, depending on your equipment. You’ll know you’re there when you can turn the bowl upside down and the whites don’t budge. Make sure your bowl is completely clean and dry before starting—even a tiny amount of grease can prevent proper whipping.
Step Five: The Folding—The Most Important Step
This is where many people go wrong, and I want you to pay special attention. Gently fold your whipped egg whites into the yolk mixture using a spatula. Do this gradually and slowly. Fold in about one-third of the whites first, then add the remaining whites in two additions.
The key word here is “fold.” You’re not stirring or mixing aggressively. You’re gently combining the mixtures while preserving those precious air bubbles you worked so hard to create. Resist the urge to mix everything quickly. Patience here directly translates to a better cake. Don’t overmix the batter—you want some gentle marbling, not a completely uniform mixture.
Step Six: Prepare Your Water Bath
Pour your batter into your prepared pan. Now comes the water bath, which is essential for creating that delicate, custard-like bottom layer that makes cloud cakes so special. Wrap your cake tin with foil before placing it in a larger pan. This prevents water from seeping in during baking.
Place your wrapped pan inside a larger baking pan, then fill the outer pan with about 3 centimeters of hot water. This gentle, humid heat environment allows your cake to bake evenly and prevents the top from cracking.
Step Seven: Bake, Cool, and Chill
Bake for forty-five minutes. Don’t open the oven door during this time—I know it’s tempting, but opening it causes temperature fluctuations that can cause your cake to deflate. When the time is up, turn off the heat and crack your oven door open slightly. Let the cake cool in the oven for about thirty minutes with the door open. This gradual cooling prevents the dramatic temperature shock that causes cracks and sinking.
Remove the cake from the oven and let it cool completely to room temperature. Then refrigerate it for at least two to three hours, though overnight is even better. The chilling time allows the flavors to meld and the texture to set perfectly.
Step Eight: Serve and Enjoy
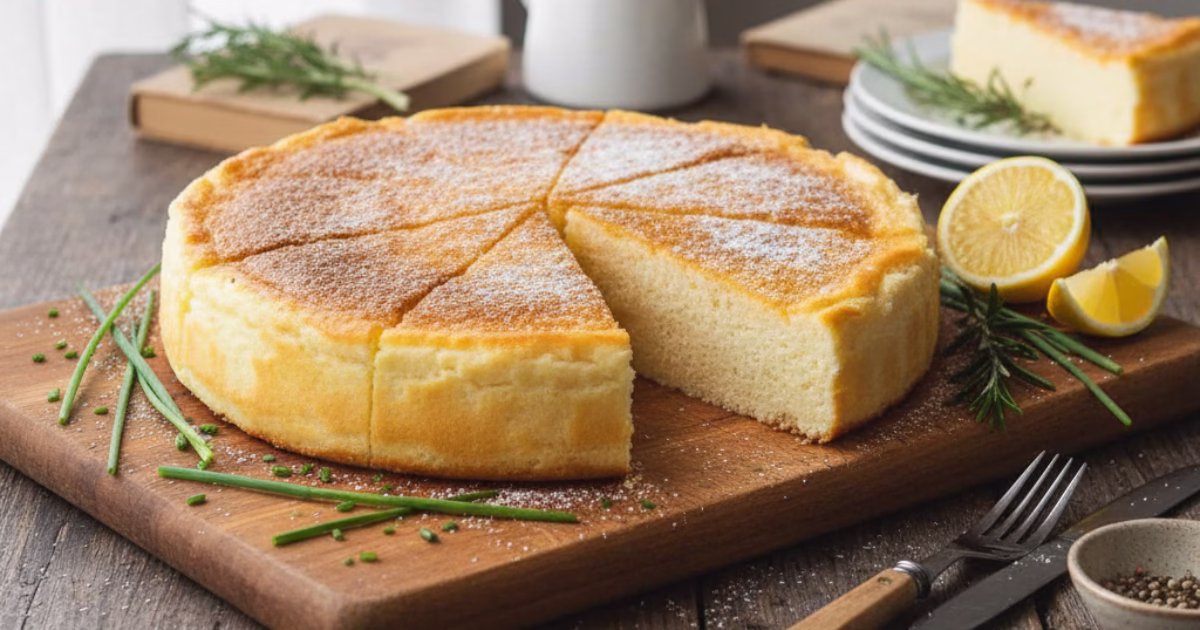
Remove your chilled cake from the springform pan. Sprinkle with powdered sugar if you’d like a touch of elegance, then slice and serve. The cake should be incredibly light and airy with a custard-like layer at the bottom.
Final Tips from Twenty Years of Baking
Throughout my years in the kitchen, I’ve learned that technique matters, but so does patience. This cloud cake rewards the baker who takes time and follows the process carefully. Don’t rush the folding, don’t skip the water bath, and don’t open that oven door.
The beauty of this recipe is that once you understand the principles, you can experiment with different flavors. Vanilla extract, orange zest, or even a hint of cardamom all work beautifully. But start with this lemon version first to get a feel for how it should taste and feel.
This cloud cake has become my go-to dessert for special occasions and casual gatherings alike. It’s simple enough to make on a whim yet impressive enough to make people think you spent hours in the kitchen. That’s the real magic here.
There are no reviews yet. Be the first one to write one.