
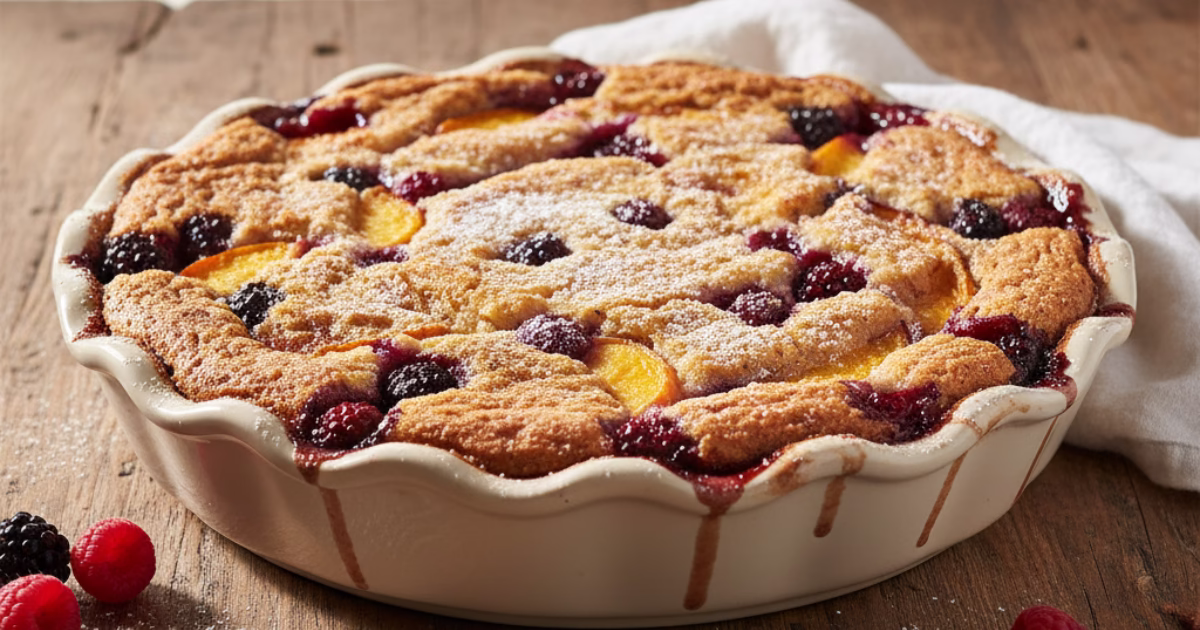
3-Ingredient Cake Mix Cobbler
There’s something almost magical about a three-ingredient recipe that delivers restaurant-quality results from your home kitchen. The 3-ingredient cake mix cobbler is one of those rare recipes that proves you don’t need a culinary degree or a pantry full of specialty ingredients to create something truly memorable. Yet here’s what I’ve learned in my two decades working with food writers and home cooks alike: the tiniest adjustments to this beloved classic can elevate it from good to absolutely outstanding.
The beauty of the original three-ingredient concept remains intact, but with some intentional tweaks grounded in baking science and flavor development, you’ll understand why this dish has become a staple in kitchens across the country. Let me walk you through my enhanced approach that takes this dessert to the next level.
Table of Contents
Understanding the Foundation: Why This Recipe Works
Before we dive into the improvements, it’s worth understanding why the basic formula is so brilliant. A cake mix cobbler strips away the complexity of traditional baking, replacing it with a straightforward method that yields impressive results. The cake mix provides structure and sweetness, the fruit contributes moisture and flavor, and the butter creates that coveted golden-brown top.
However, after years of testing variations with home bakers, I’ve noticed consistent patterns in what could be enhanced. The most common feedback centers on three things: the depth of flavor, the texture of the top crust, and achieving consistent baking results across different ovens.
The Enhanced Recipe: What You’ll Need to Make 3-Ingredient Cake Mix Cobbler
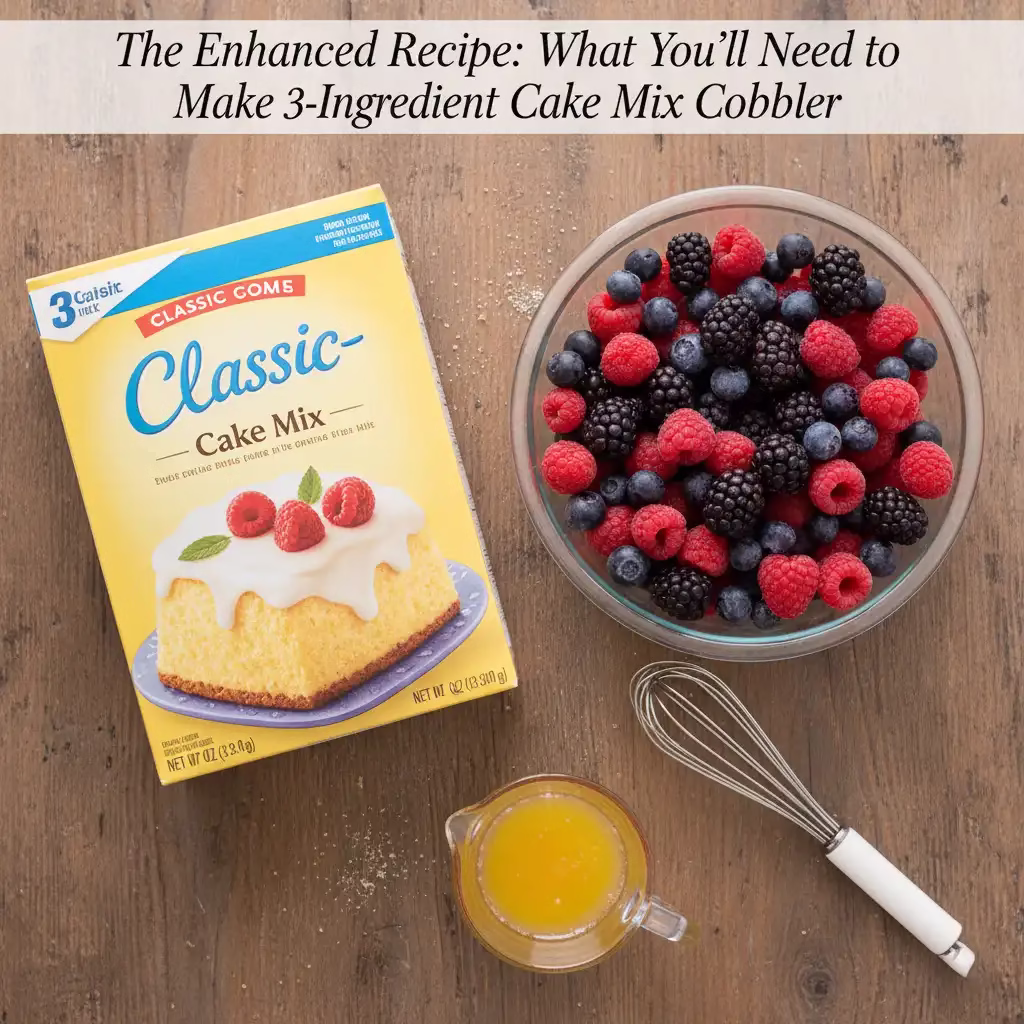
Peaches: Start with two 15.25-ounce cans of peaches in heavy syrup rather than light syrup. This is your first crucial upgrade. The heavier syrup means more flavor concentration and moisture in your cobbler. The syrup isn’t just sweet liquid—it’s an ingredient doing real work, infusing every bite with peach essence. If you’re feeling adventurous, consider adding a third can of drained peaches. This isn’t just about quantity; it’s about achieving a fruit-forward balance that prevents the cake mix from dominating the flavor profile.
Cake Mix: One 15.25-ounce package of yellow cake mix or Duncan Hines white cake mix serves as your baking foundation. Both work beautifully, though yellow cake mix lends itself to a more traditional peach cobbler aesthetic.
Butter: Here’s where technique transforms texture. Instead of the typical approach of melting and pouring ½ cup of butter, use one and a half sticks (approximately ¾ cup) cut into thin slices. This seemingly small change creates a dramatic difference in your final product. When you distribute solid butter evices across the cake mix layer before baking, it melts gradually, creating pockets of richness while preventing that dry, powdery top that sometimes plagues cobbler recipes.
Added Flavorings: Cinnamon and sugar become your secret weapons here. These humble pantry staples add warmth and complexity to what might otherwise feel one-dimensional.
The Method: Step-by-Step Excellence
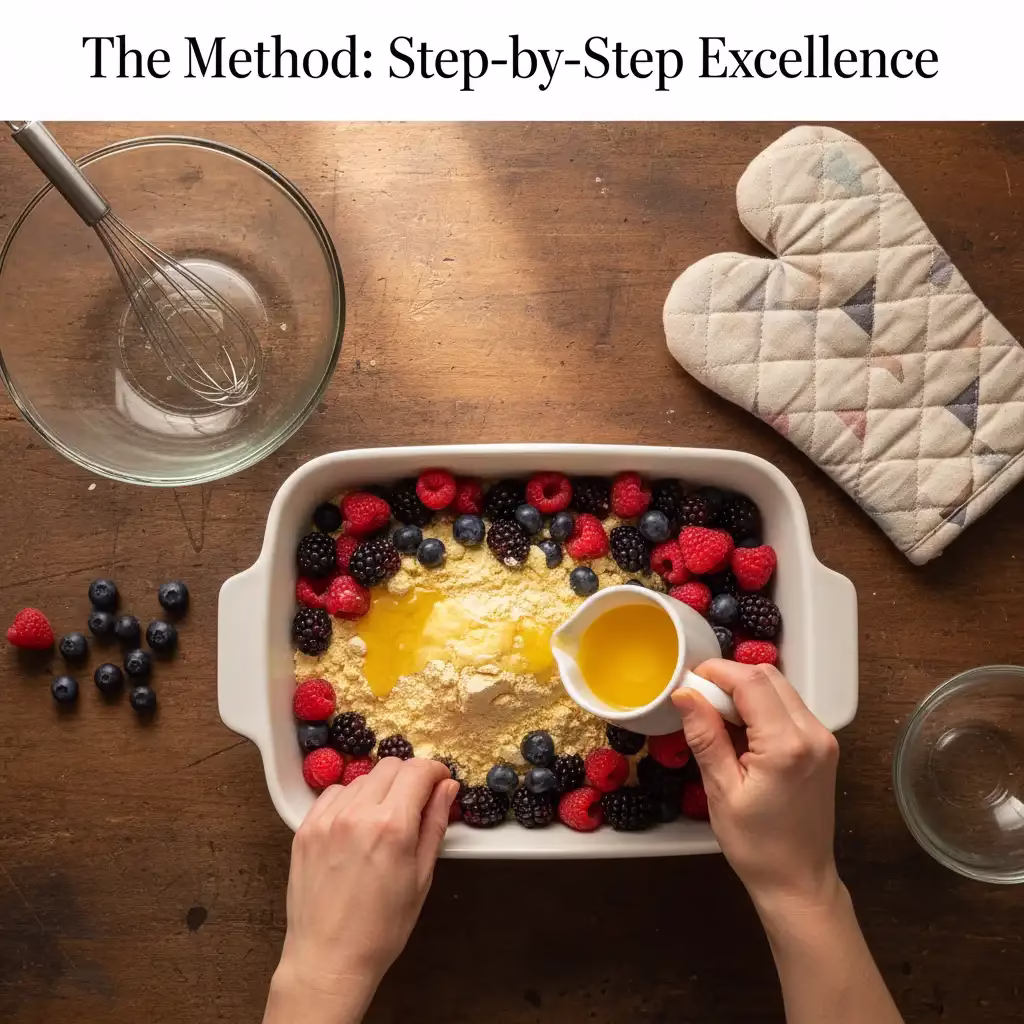
Getting Started: Gather all your ingredients and preheat your oven to 350 degrees Fahrenheit. This temperature sits in the sweet spot for even cooking—hot enough to develop that golden-brown exterior without browning too quickly and leaving the interior underdone.
Building the Foundation: Pour your peaches and their heavy syrup into a 9×13-inch baking dish. Don’t drain them; that syrup is liquid gold for your cobbler’s texture and flavor. Once the fruit layer is established, sprinkle a generous amount of cinnamon across the peaches. This early application allows the spice to meld with the fruit juices as everything bakes, creating a more cohesive flavor throughout.
The Cake Mix Layer: Sprinkle your entire package of dry cake mix directly over the peaches. Don’t mix anything together—resist that urge. The magic happens through layering and moisture infiltration. Now comes the enhancement that elevates everything: sprinkle a mixture of cinnamon and sugar over the dry cake mix. This creates a subtle flavor bridge between the fruit and the cake components.
The Butter Application: Take your one and a half sticks of butter and cut them into thin slices, almost like you’re preparing pats of butter for toast. This is the technique that changes everything. Arrange these slices to completely cover the cake mix layer. You’re aiming for coverage that prevents any dry cake mix from showing through, but you don’t need the slices to touch perfectly—small gaps are fine and actually beneficial.
Finish with another light dusting of cinnamon over the butter pats. This top layer acts as both a visual indicator of doneness and a flavor enhancer that gets toasted during baking.
The Baking Process: Place your assembled cobbler into the preheated 350-degree oven. Baking time typically ranges from 50 minutes to 1 hour and 10 minutes, depending on your specific oven and whether you’re using a conventional or convection model. Conventional ovens with heavier ingredients tend toward the longer end of this range.
You’ll know it’s done when the top reaches a beautiful golden-brown color and you can see some gentle bubbling around the edges where the fruit mixture is creating moisture. Don’t overbake—the moment it achieves that golden hue, it’s ready to come out.
Why These Changes Matter
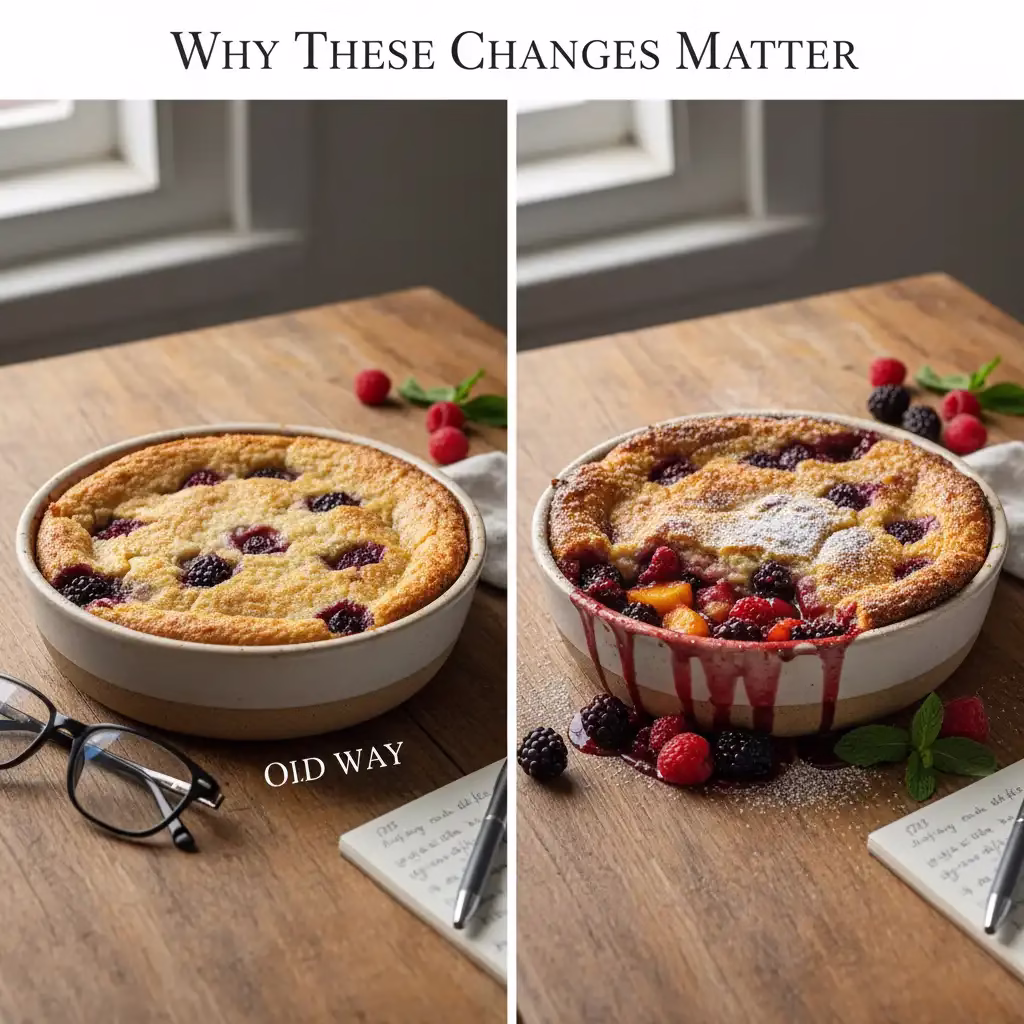
The shift from melted to sliced butter prevents the cake mix from absorbing all the liquid at once, which is what creates that powdery texture in traditional recipes. By distributing solid butter across the top, you’re creating layers that melt gradually during baking, keeping the top moist while still allowing it to brown beautifully.
Using heavy syrup peaches adds approximately 10-15% more flavor intensity compared to light syrup varieties. It’s a small change that compounds across the entire dish. The cinnamon additions create what I call “flavor architecture”—each layer of the cobbler has its own accent, but they work together harmoniously.
Serving Your Masterpiece
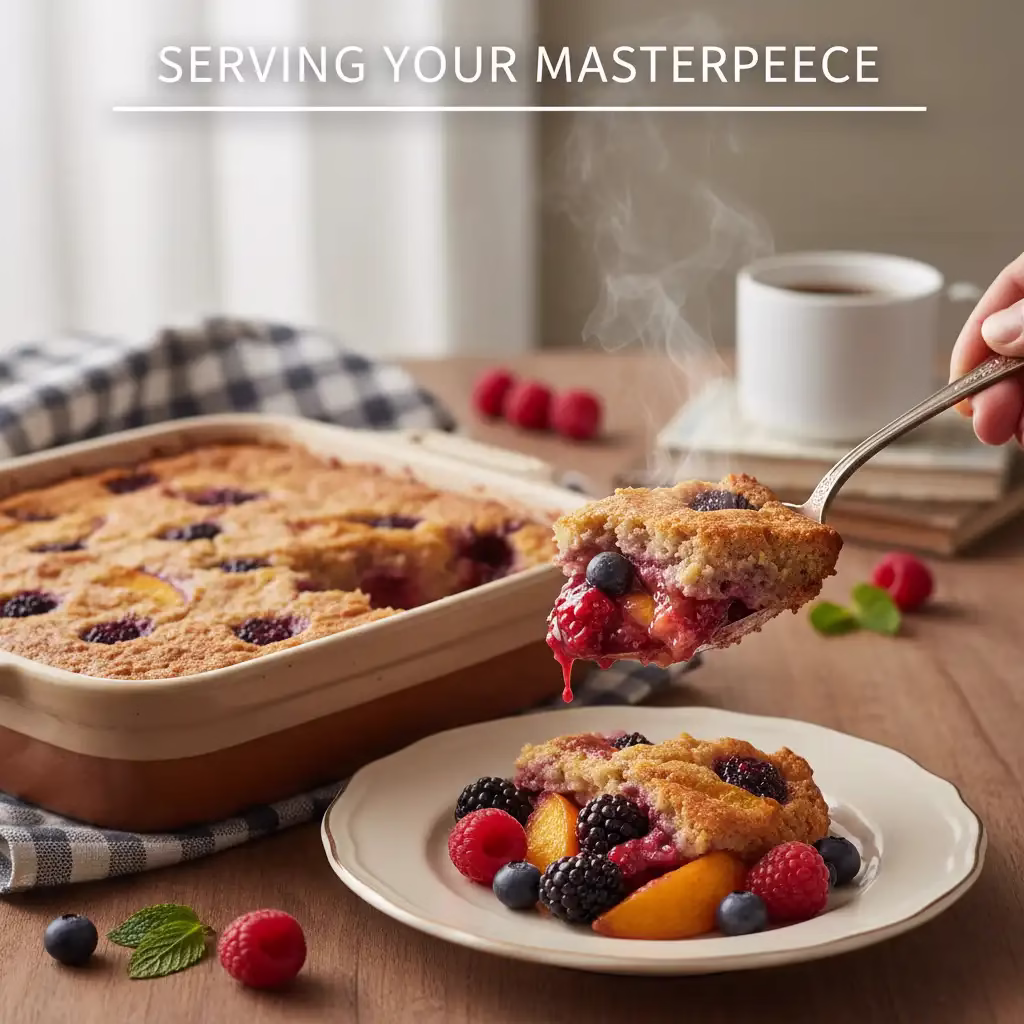
Once your cobbler reaches that perfect golden-brown state, let it cool for just five to ten minutes. This brief rest allows the structure to set slightly, preventing the toppings from sliding around when you serve. Scoop generous portions into bowls and top with a generous scoop of vanilla ice cream. As the ice cream melts into the warm cobbler, it creates an incredible textural contrast while adding a cooling element that balances the cinnamon’s warmth.
This cobbler serves eight people generously and maintains quality for up to three days when stored properly in an airtight container at room temperature, though honestly, it rarely lasts that long in most households.
Final Thoughts
What I appreciate most about this enhanced three-ingredient approach is that it honors the original recipe’s spirit while addressing real limitations I’ve observed over decades of cooking. You’re still working with accessible ingredients, minimal equipment, and straightforward techniques. But by making these deliberate adjustments—better syrup, proper butter technique, strategic spice placement—you’re creating something that tastes like it came from a skilled baker’s kitchen.
There are no reviews yet. Be the first one to write one.